Django is one of the trending web framework which is based in python. Django allows us to develop our web application rapidly. Most of the configuration like basic security measures, admin panel are built in. So, we can solely focus on writing code for the functionality of your apps. Another great feature of Django compared to it's closest competitor NodeJs is it's capability of scalability. Django is a full stack Web Framework with features like it's own Template Engine, API and ORM. ORM stands for Object Relational Mapping which allows us to play with SQL based database by creating Python Model Object without using actual SQL queries.
Setting up Django framework can be the tedious job. Here, I will try my best to make the process simple with better explanation. This tutorial will be based on Linux system, but the steps are pretty much same for all the Operating Systems.
Requirements:
a. PC with good Internet Connection
b. Python 3 installed
Setup Virtual Environment
Django is generally installed in virtual environment so we can work with different Django Version for different Projects without errors. So, first lets create virtual Environment. For this open up your Terminal and run the following command.
pip install virtualenv
Now, to create a virtual environment with python run the below command.
virtualenv <dir name>Here, <dir name> is the name of virtual environment.
Then, you need to activate virtual environment you just created. First, change the directory to the environment folder using cd command and run this command.
source bin/activateNow,the virtual environment is activated. Once the virtual environment is activated you can see the name of virtualenv between '()' in the terminal. You can check the version of python installed in virtual env using "python --version" command.
Django Installation and Setup
Django can be installed easily using Python Package manager (PIP). For this run the following command.
pip install djangoYou can also install specific verson of Django by mentioning version as below.
pip install django==2.1It will install Django 2.1. You can check if django is installed properly or not using this command and it will show the version of Django installed.
django-admin --versionNow, we will start our first Django project. To start a new project we use django-admin as below.
django-admin startproject myprojectHere, 'myproject' is the name for your project and you can set it as you want. It will create a new directory with your project name inside virtualenv directory. It will create 'manage.py' file and a folder with project name inside this folder. The sub folder contains few files with default configuration to run your first web app.
To check if the project is created correctly we can run the django server. For this, first change directory to project folder and run server using these commands.
cd myprojectpython manage.py runserver
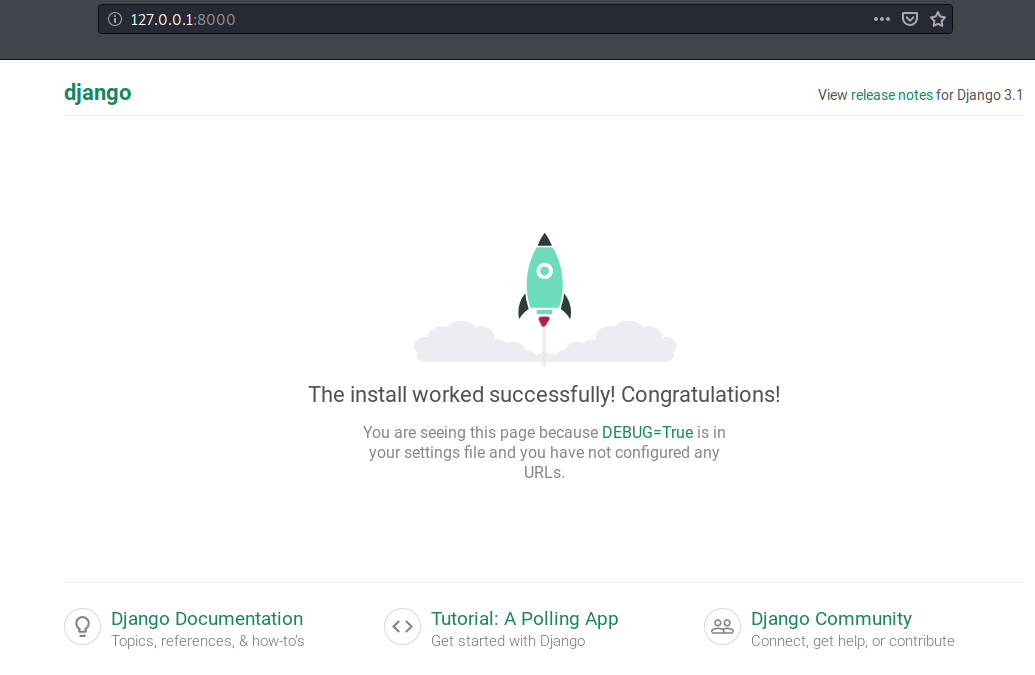
By default, django server runs on address http://127.0.0.1 with port 8000. So, you can visit django app using url : http://127.0.0.1:8000/.
You will see the page like below in your browser.
Now, you can install your first app using command given below.
python manage.py startapp myapp'myapp' can be any name you give to your app.
The next step is to setup views and urls for your app. Then you can create models and migrate them to the database.


0 Comments